Pages

Showing posts with label Crafting. Show all posts

Monday, August 1, 2022

July Wrap Up and August Plans

 My July plans were:

  • Burda 7/2022 birthday dress
  • Socks at knitting camp
  • MK summer cardigan
  • Butterick 6640
  • NL6692

I made my birthday dress and socks. Woohoo! :) I did not get to my summer cardigan, but I do have two machine knit tops as WIPs (I need more yarn for both). 

I also cut out a pair of shorts from Burda 8/2014 for my daughter and made a couple of Cricut projects.
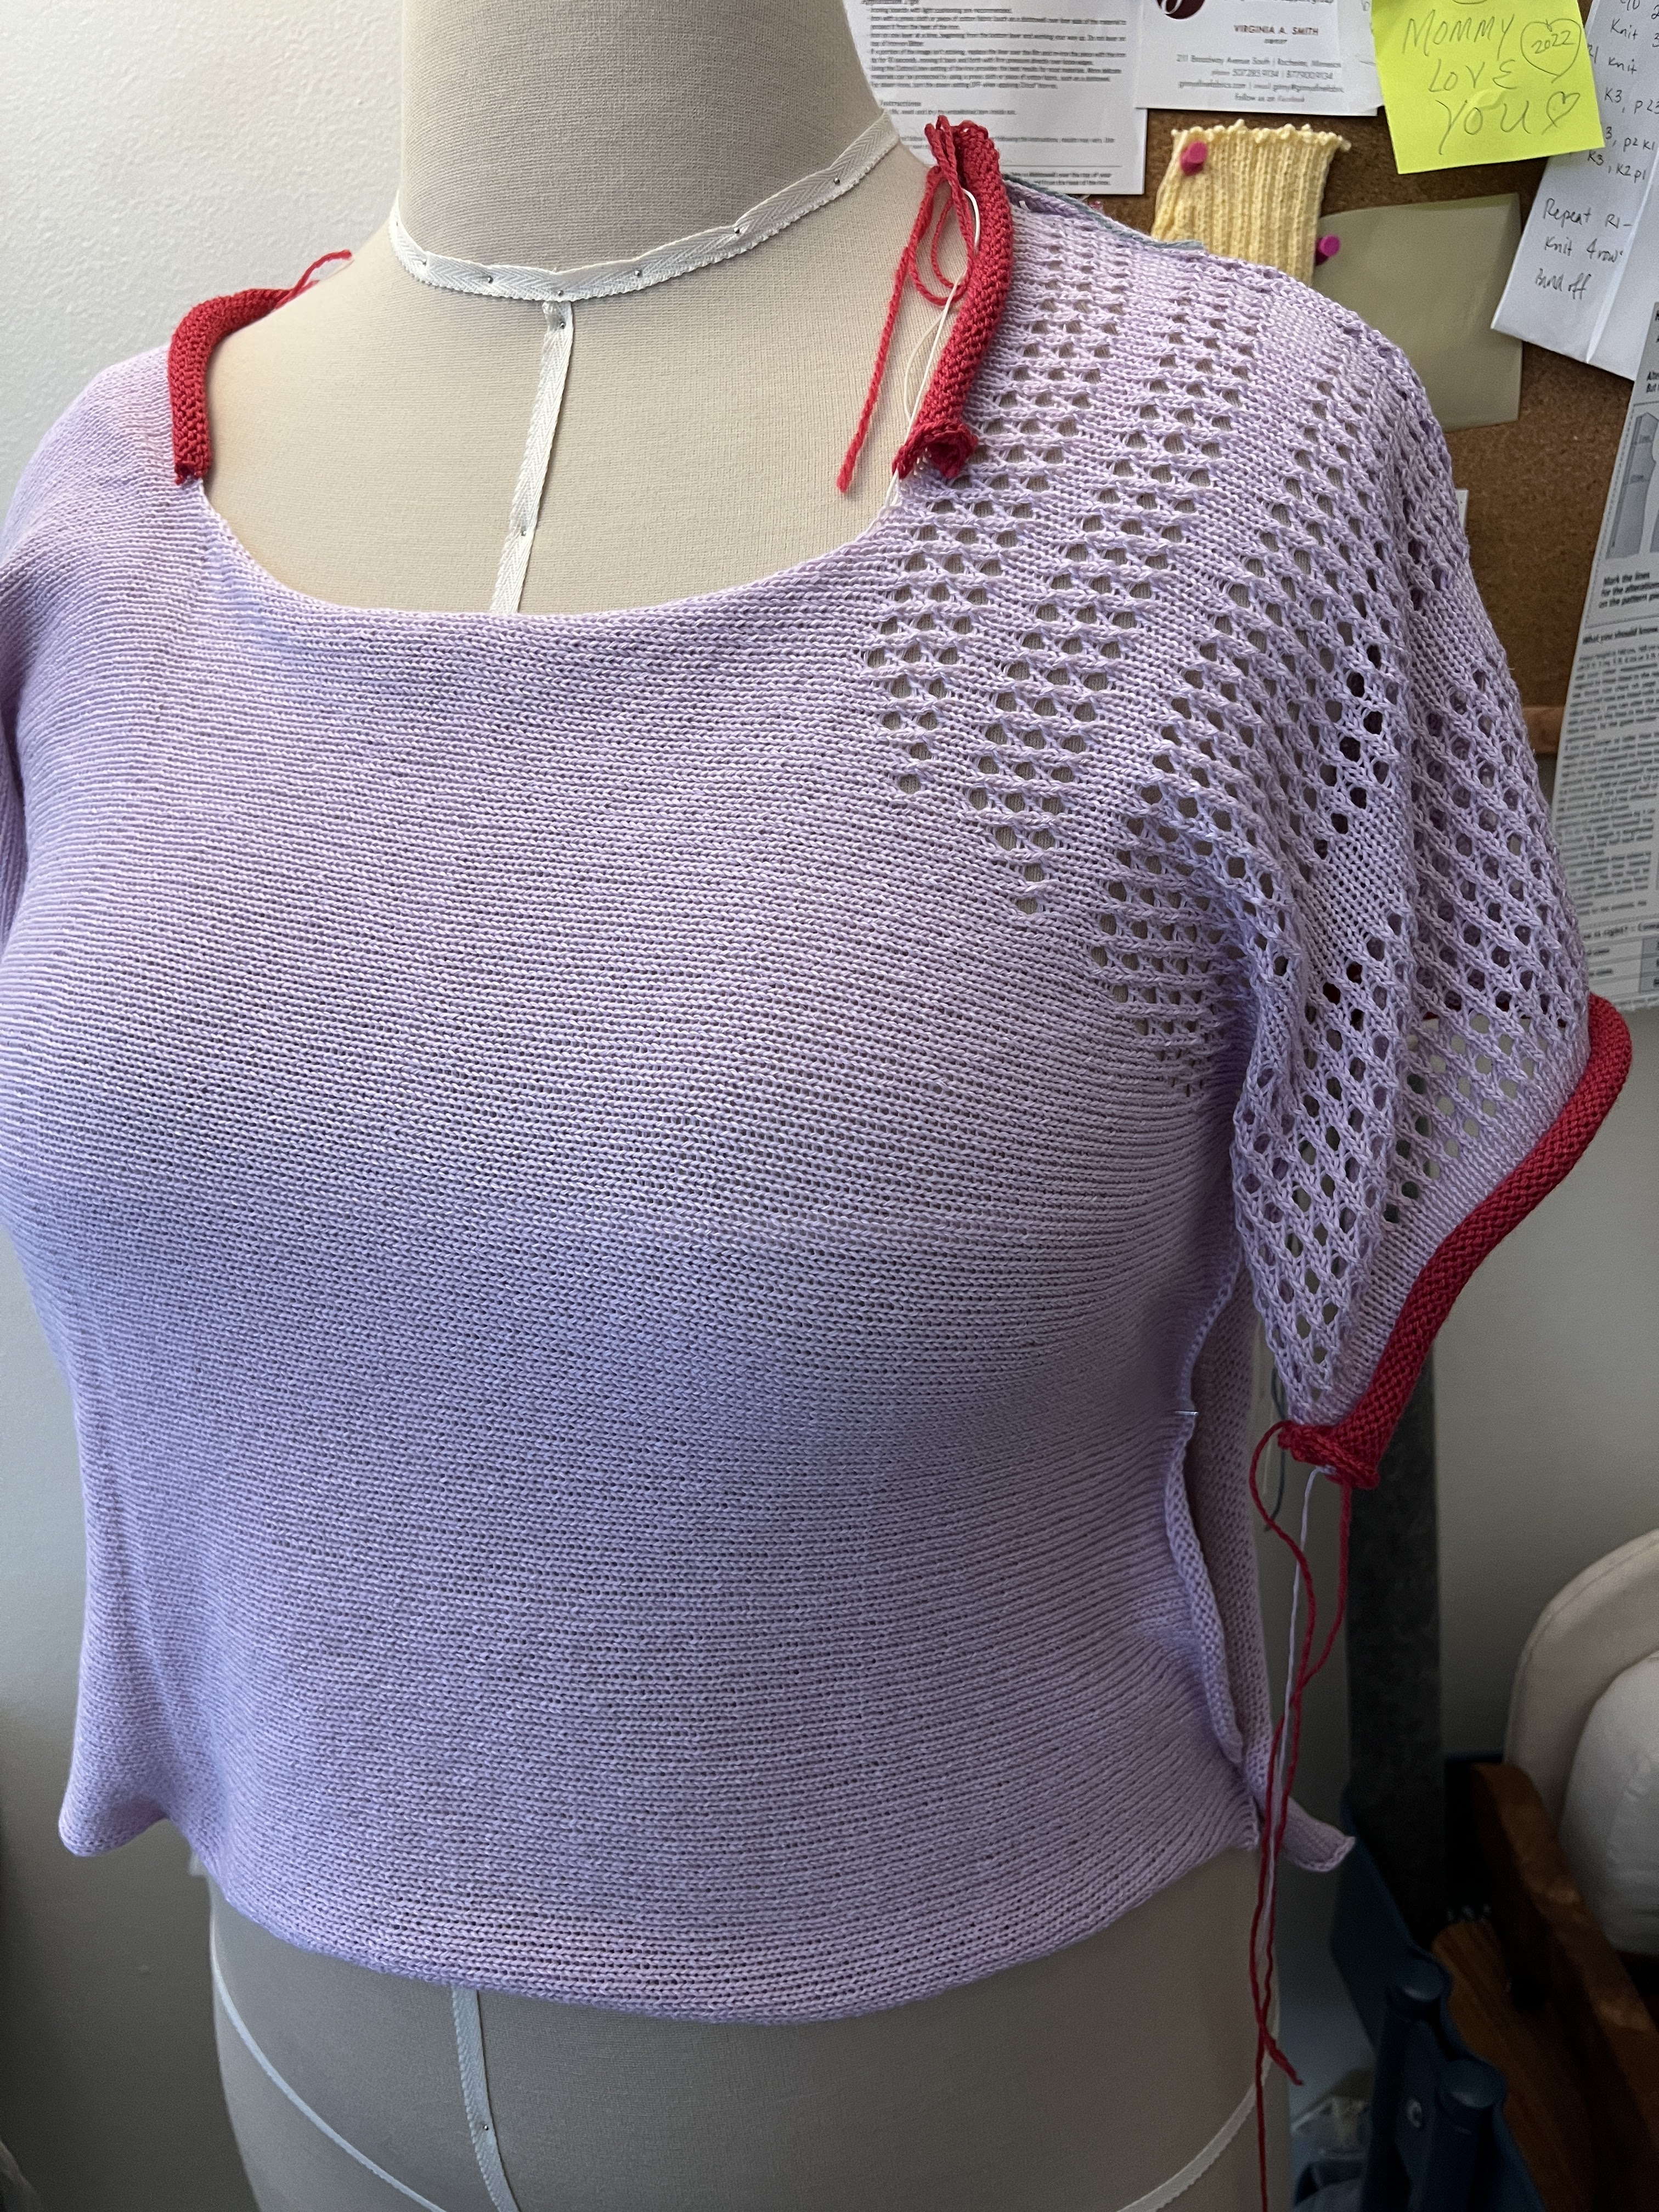
WIP: sideways knit sweater with hand manipulated lacy sleeve

MK socks with Paton's Kroy
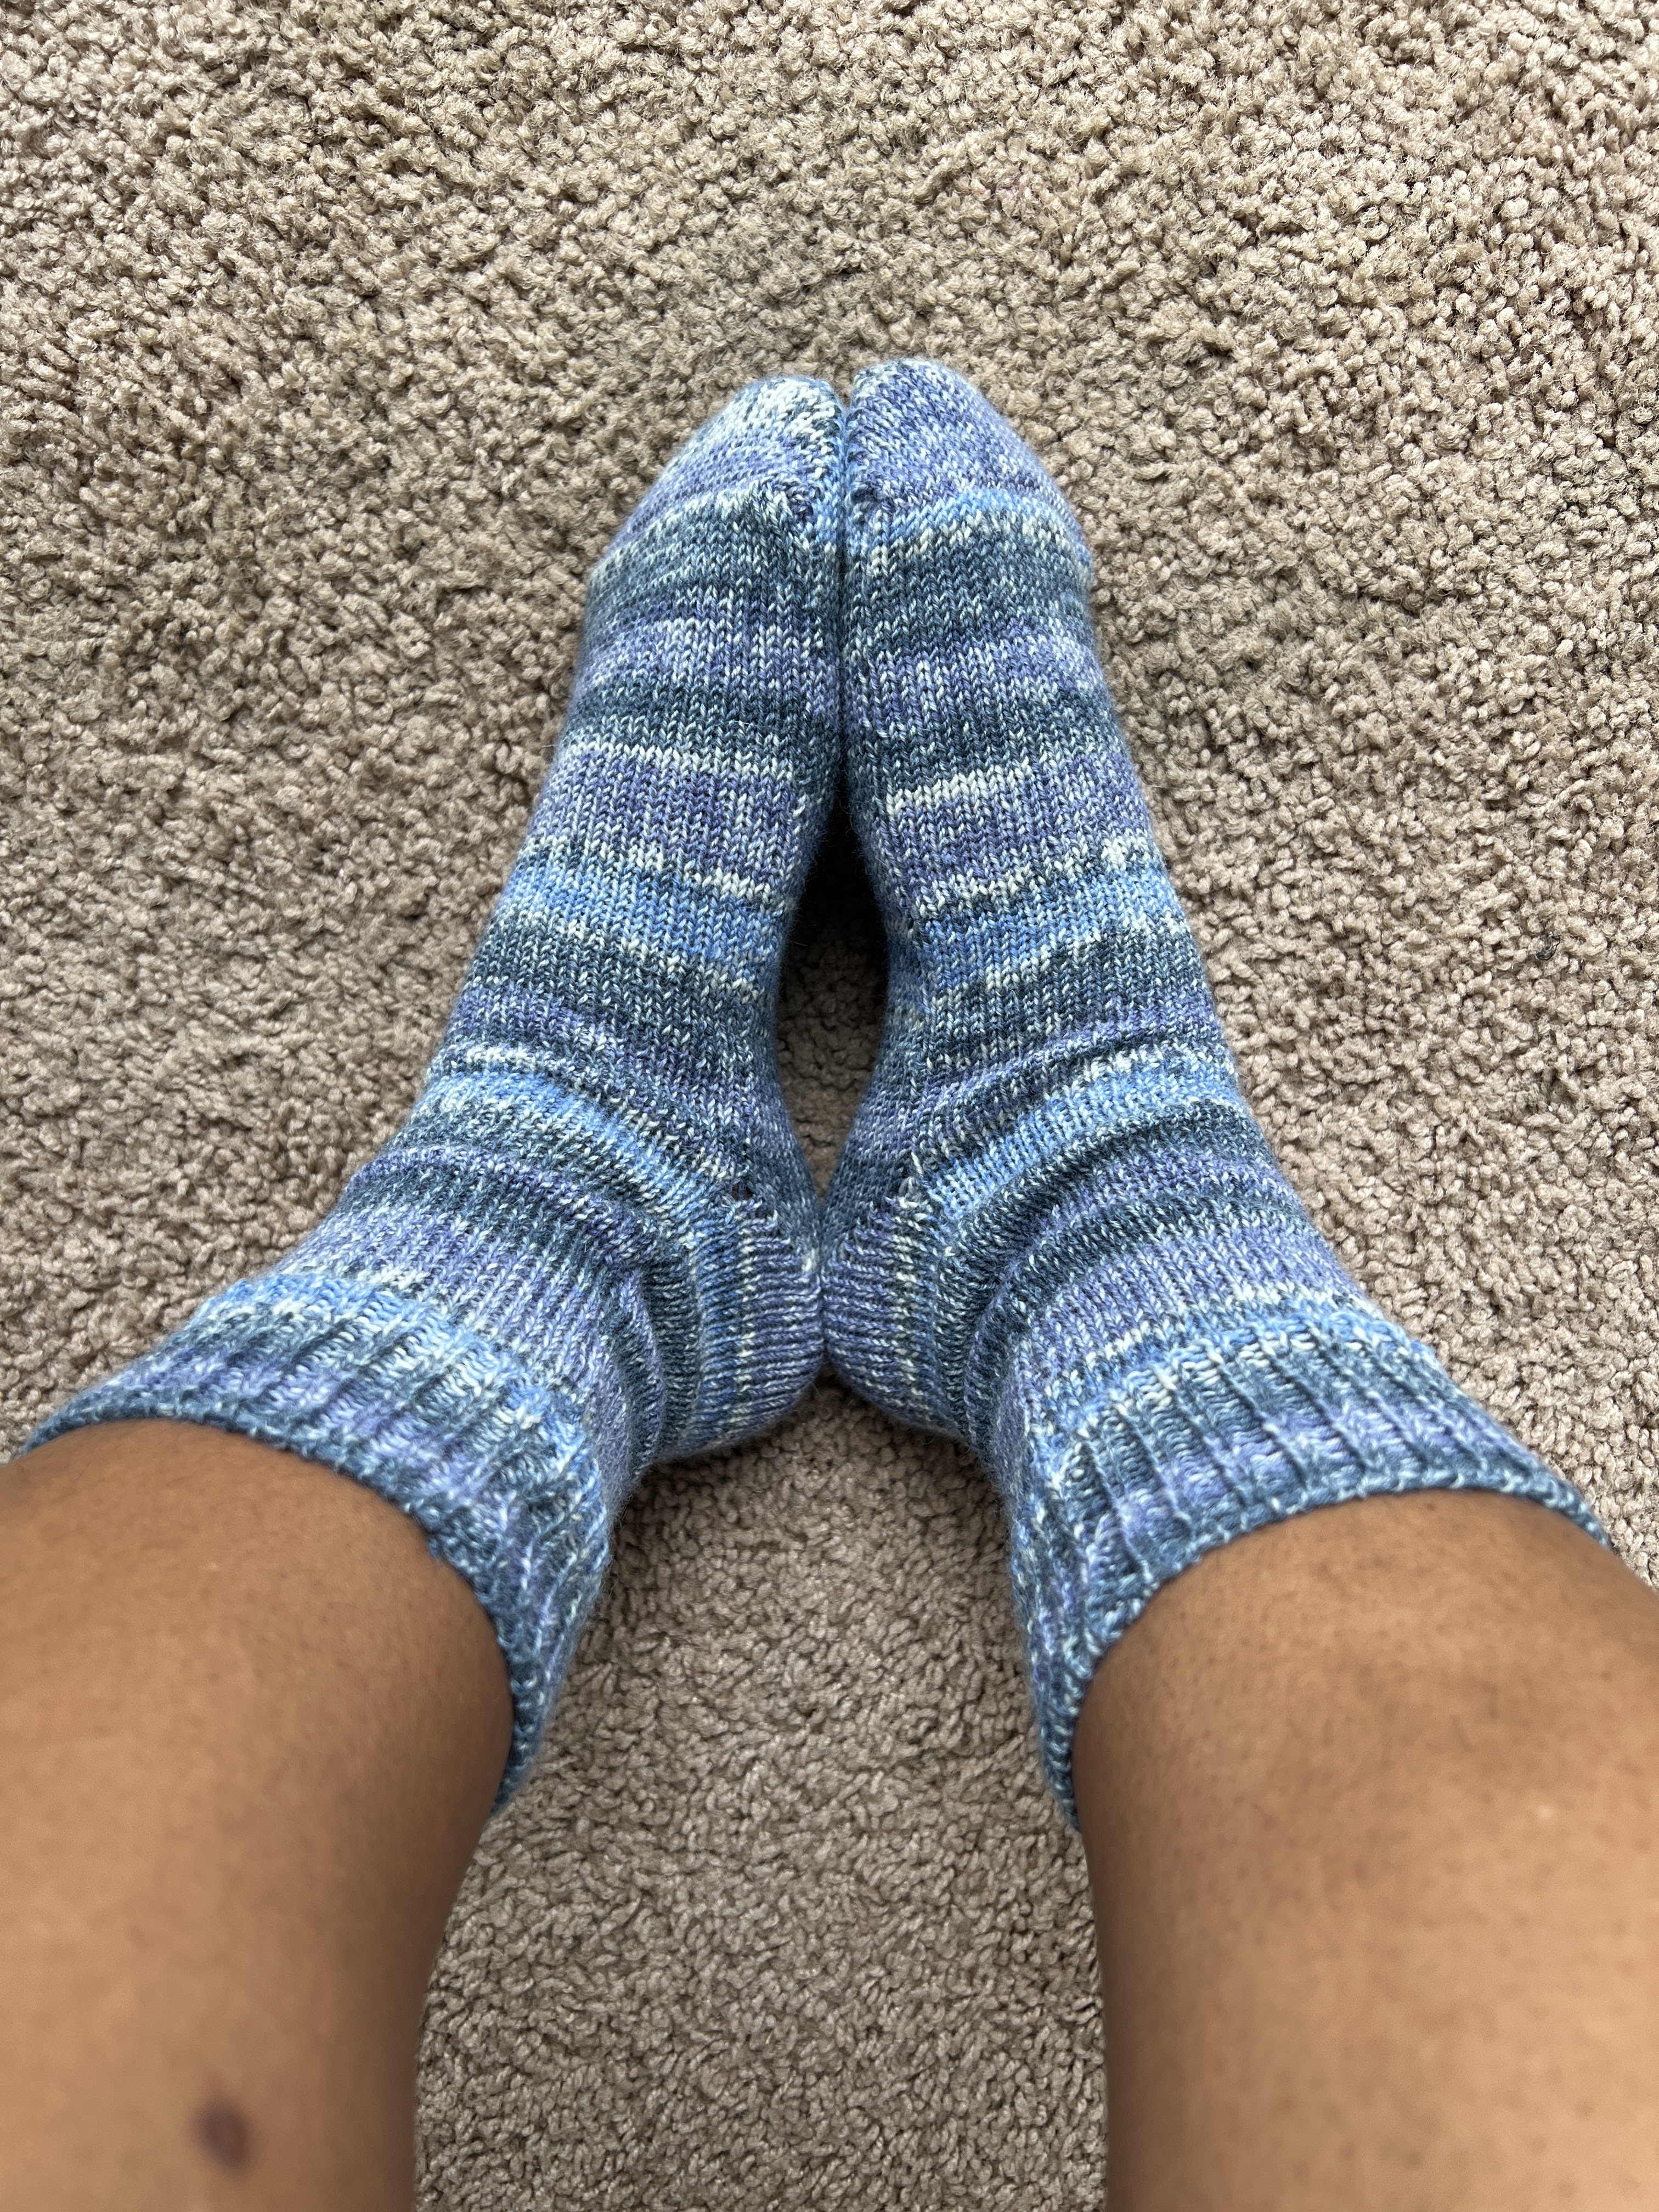
MK socks with Wisdom Angora Lace
So soft, warm, and snuggly!! This yarn has been discontinued. I bought 4 skeins (all solids, boo, but Yay!)

I got really excited about these pleated shorts...then she balked at the length. sighhhhh.
We'll see what she thinks once they're ready to fit.

July turned out a little different than I anticipated. I ended up taking a trip to the ER last weekend turning the entire next week into a wash. I just wasn't able to do much of anything. Bonus though was time with the babies.

B is in FULL toddler mode and it is hilarious (well, at least to grandma it is! haha!)
At one point, I asked him to come get changed and he shook his head and said, No, while walking away. Then he came to "help" while I was making dinner. He repeatedly started the dishwasher and kept pulling all these strainers and bowls out of the cabinet.

F is obsessed with B and never wants to stop going. I kept trying to put him down for a nap, but now, he just fights til he passes out. 

I broke out the Cricut this past weekend to make a birthday present for my sister. She loves Scrabble and I've been meaning to make these coasters for her for ages. I finally got it done and I love the way they turned out! 

The wood blanks are 4x4 inches and I wanted them to fill the space as much as possible. I tried to very closely match the orientation of the point value with the letter. I then did 3 coats of Modge Podge with about 10-15 minutes between coats. Did you know that it takes 3-4 weeks for it to fully cure?!? I did NOT know that! Whew! Once fully cured, no sealant is needed. However, I would like a glossy finish so I'm going to get something to spray over top.

I cut out 3.5x3.5 inch squares of felt and adhered them to the back with the Modge Podge. The felt is adhesive, but I wanted to ensure a really good seal. 

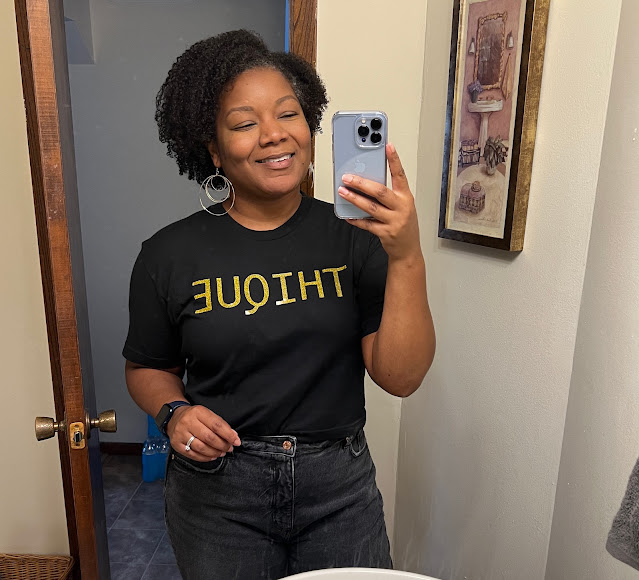
Lastly, Beyonce's 7th studio album was released on Friday. It is full of fun-upbeat dance music but Thique has  heavy baselines, and THAT is right up my alley! :) I’ve been bumping the song all weekend. 

Someone posted that merch was available for 7 days only so I go to the site. $45 for a T-shirt?!? Beyoncé or not, there's just no way I'm paying that much for a tee, so I made my own! I really wanted to use this silver holographic vinyl that I had on hand, but I could not get it to weed cleanly around the curves (Cricut vinyl in general, sucks). I pulled out this Siser glittler vinyl in gold and made quick work of finishing the tee. It's a men's medium and fits well through the body, but it was long. I chopped off 9 inches, folded up 3/4" and hemmed it on my coverstitch machine. Woohoo!

August's plans? eh.

I am going back up to St. Cloud on Saturday for monthly  machine knitting meetup. Mainly because I had stuff I forgot to buy when I was there for camp, but I am also interested in the meeting topic for the month. 

The following weekend I am in Chicago for a bridal shower. Then, in the last 5 days of August, I have grandson F's 1st Birthday, out of town friends visiting so we can go to the MN State Fair, and my husband's birthday. 

Oh, plus I'm trying to knit a sweater to enter into the fair and that has to be completed and dropped off by August 15th. 

And I have several medical appointments as I try to figure out these health issues.

So what are my August plans? TO SURVIVE THE MONTH! haha!

I plan to finish the shorts and a top for my daughter and hopefully the Butterick shirt dress. I also hope to finish the 2 WIP machine knits once I get more yarn, knit the sweater for the fair, and finish the teddy bear I knit for the babies. 

As always, more later!


Tuesday, June 30, 2020

June Wrap-Up

Gah. I can't get my sewing mojo or my picture taking mojo back. I'm rapidly losing track of made-but-not-reviewed projects. And it is REALLY important to me to review my 'makes'! I like to know what adjustments I made without pulling the thing out. I like to see lengths of skirts/dresses/sleeves...I like to see the fit on me in case I revisit the pattern or am looking at something similar. Bleh.

This month, I sewed 7.5 yards. I sewed:
  • Vogue 1507 top - 3 yards (fussy pattern cutting)
    • floral print cotton woven from SR Harris
    • Hug Snug binding
  • New Look 6614 dress - 2 yards
    • orange linen from Fabric.com (stash)
    • eyelets, clasps
  • Burda Magazine 5/2020 - 2.5 yards (WIP)
    • border print Ankara
    • buttons
Favorite. FAIL. Accomplishment:
I am digging the Vogue top even though the fabric was *just* slightly too heavy. The front and sleeves are double layered. I'm really liking the Burda top so far. I knew the shape (of the not yet reviewed black version!) would be great in an Ankara print. Then, I cut a length from the upper portion with plans to hem it and use it as a head wrap, but it felt a little "Spider Man" with the blue, red and yellow. LOL!


The NL dress is not quite what I imagined. I don't know if it'll be wearable. I did finish it, so we'll see. Could be a fail.

it's been completed since this pic

Also, I stopped tracking purchases. I also stopped updating my sketch book. WAH. Stupid pandemic. Considering the vast majority of my shopping is online, and there was no in-store shopping until late May (when I bought the fabric for the Vogue top from SR Harris), my email shows no pattern or fabric purchases in June.

I've really been pushing myself to learn my knitting machine and have had some successes...

baby blanket using a tuck pattern

initial progress on baby sweater (sleeve is blocked so the ribbing looks nicer!). 
I accidentally dropped the work when I went to do the decreases on the other side

and then, SPLAT. Fell on my face again and again. Now, I'm thinking I damaged some needles/latches on the main bed. I have some on order and will try to replace the ones where my fabric is getting hung up and see if that helps.

NOTHING IS WORKING ANYMORE!

Lots of Cricut love this month with Father's Day and graduations! The sign is for my dad, tee and onesie are for my son in law, and the t-shirts for a couple of cousins. 


mid-placement

Plus, I bought these cheap-o containers from Target ($2!) and jazzed them up with some permanent vinyl.

The other 2 larger containers say "dressmaking debacles" and "Crafting is the Best Medicine"

2020 goals

And, we're halfway through the year! 2020 is a total wash in so many ways. blehhhhh.

Sewing related, I'd set few hard goals for the year. I wanted to keep my spending very conservative because I knew that this year would be so unpredictable economically (due to the administration, election year, etc). I set a budget of $250 for fabric (hahaha) and $50 for patterns. I've spent about $385 on fabric and $48 on patterns. Well that ain't half bad! I can see myself making it the rest of the year without adding new patterns but we'll see what happens when the fall releases drop :) I've only purchased 14 patterns this year - that's some kind of record.

And while I blew through my lowly fabric budget, I added 68 yards to the stash and I've sewn 83 yards. So I'm ahead!

Also, I've sewn 60 items and 32 of them have been from stash fabrics (older than 6 months) - a little more than half. I'm going to revise my fabric goal to end the year with 75% of items sewn being from the stash.

I have barely touched this goal list! I made a jumpsuit and made some loungewear. Summer is a bust and I should probably just move into fall sewing soon. I really want to make my husband's blazer this year. We shall see.

Lastly, I was planning a career move this year. At an interview with a major corporation that I would have LOVED to work for (have you ever noticed how many Fortune 500s are headquartered in Minneapolis?! Target, Best Buy, 3M, General Mills, US Bank, United HealthGroup, I could go on!) we were making lighthearted jokes about the slight stock dive. The next week, the world was shutting down around us and they pulled the position. Bleh.

So I'm gearing up to get back in the saddle (there was like, NOTHING on the job boards for awhile there) and figure I may as well start looking elsewhere. So my relocation MAY happen in 2020 if things play out well.

I'm tired and could use a fresh start. I have a brother and sil here, some friends and my fantastic sewing community that would be well missed. But I am also very anxious here and feel so...repressed. It's not healthy :( Current events only exacerbate what's been true since my mid 20s.

Hope you are staying healthy!

Friday, May 8, 2020

Creating with Cricut Joy!

This is a sponsored post written by me on behalf of Cricut for Cricut. All opinions are 100% mine.
About two years ago, I jumped on the Cricut train. I'd seen sewers using their cutting machines to add heat transfer vinyl designs to clothing for themselves or their little ones and kept reminding myself to look into it. Then, Cricut contacted me about their affiliate program when the Maker was being released and I jumped on the opportunity.

Cricut recently released a new cutting machine. The Cricut Joy is the perfect companion to quickly and easily personalize anything with one cut and one color, in 15 minutes or less. It is fun, functional, and simple to use! Practical, everyday projects have never been more accessible or easier. If you already have a Maker or Explore Air 2, Cricut Joy opens up additional creative possibilities with unique features and is the perfect companion for quick, mat-free projects and long cuts.


The biggest selling point for me is how compact and portable the machine is. The Maker has unparalleled capabilities - it's amazing. A few months ago I picked my niece up from a friend's house and brought her back home with me until my brother and sister in law could pick her up. It was her birthday and I wanted to put together a quick card. But I just didn't feel I had time to pull out the Maker and my varying supplies (ahem, there may be quite a lot! LOL!) to make one in the time I had. If I'd had my Joy, I could have knocked that out in literally a few minutes! 

The Joy is Cricut's smallest cutting machine ever! It packs away easily, sets up instantly, making it super easy to move from room to room. Not having to transport a mat, combined with the smaller material size, makes the whole system compact and portable; no craft room required! It fits in a cubby or looks great sitting out on a counter or shelf. 

When I received my Joy, I already knew what I needed to use it for!

2020 is the year of babies in our family! I needed a quick gift and decided on a onesie and a card. 


I got all my tools ready!


First up:
I used Cricut Smart Iron-On to create a cute little bowtie.

With the new Cricut Joy Smart materials, mats are optional! The Joy has a full suite of brand-new materials that do not require a mat, meaning less to buy, fewer steps, and faster results. New Smart vinyl comes in extended sizes, with up to 20 feet repeated cut capability, and no need to switch out multiple mats. 

There are lots of options for colors and prints!

The process is SO slick. 

Create your project in Design Space like normal and click Make It.  Unless you're cutting something that is specific in how it can be cut, you'll be given the options shown below.


Because I am using Smart Materials, I chose Without Mat. I am using Iron-On so I have mirrored my design. 

Then clicked Continue in the lower right. 


Choose the appropriate material. 
I have also highlighted the Unload option. I had to use this just the other day because my material loaded slightly crooked. 


Click Go and seconds later, my bowtie was cut and ready to apply to my onesie! 


I pulled out my Easy Press (which I immediately purchased during a Black Friday sale at JoAnn when I got my Cricut Maker!) and input the settings appropriate for the Smart Iron-On and cotton onesie (Cricut provides all of this info for you - don't worry!). 

Next:
I decided to add my FAVORITE thing to baby tees - a 'Hi, I'm New Here' "nametag"! 

So for this project, we need the Cricut Joy mat. I used a piece of Cricut Iron-On that I had in my stash.  The process is exactly the same except for choosing On Mat at the first screen.


Once cut, I weeded the design and used my Easy Press to add the design. Since I purchased mine, Cricut has made some updates and it is now offered as Easy Press 2. There are 4 size options! I have the 9"x9" version and it is also offered in a jumbo 12"x10" size, 6"x7" (great if you're making a lot of kid/baby projects!), and a mini version which people love for adding Iron-On to small areas like on hats, shoes, keychains, etc. 

I love it!!!

Lastly:
I needed a card to go with my gift. This time, I brought my tiny, adorable, Cricut Joy down to the dining room table to work. Score!

Cricut Joy exclusive blank insert card sets allow you to create unique and impressive results in a moment's notice!


There are SO many options of colors and finishes to create unique cards for any occasion.

I chose the cream/silver brush set which comes with cream cards, silver inserts and white envelopes.


For this project, we are using the Cricut card mat. It's pure genius! It has a sleeve that allows you to insert the pre-scored and folded card so that you can cut a design out on the front while keeping the back in tact.

By setting my machine to Joy, I will filter out projects that aren't compatible. Then, I chose cards from the categories list, and baby as a search term. It was tough to choose but I decided to go with the Onesie card to match my gift. 


This is where it gets good! ALL you need to do is click Make it! 


Design Space knows that since you are using a Cricut Joy insert card that you're using the card mat, and there's no need to make any adjustments! 


Insert the card into the mat, press down to secure the card to the mat, and insert the card mat into the Joy. When the materials (mats or Smart materials) come into contact with the rollers on the machine, it automatically loads into the machine. 

The Joy makes quick work of cutting out the design and Design Space lets you know when to unload the mat. 

Gently remove the card from the mat (the cut out cardstock will remain on the mat!) and add the insert card into the slots and you're done! 


Yes, I later decorated my Joy with this cute smily face and Smart Vinyl!

I've chose to write my own message in this card but the Joy also writes! Cricut Joy compatible pens are available in a wide variety of pen types and line widths and can write in a variety of styles. 

I had so much fun with the Joy that I cranked out graduation cards for several graduates who'll be missing out on their Commencement - including my daughter! :(

I also made a ton of Mother's Day cards for family and friends and will be back soon to show off the writing capabilities of the Joy!


More later! 

Learn more about the Cricut Joy or any of the other Cricut cutting machines, Smart materials, Easy Press, and other tools and materials. 

This is a sponsored post and contains affiliate links. If you purchase anything through these links or via the banner on my blog, I will make a small commission. All opinions are genuine! 
You all know I love my Cricut!!